Deutsch
 Français
 Türkçe
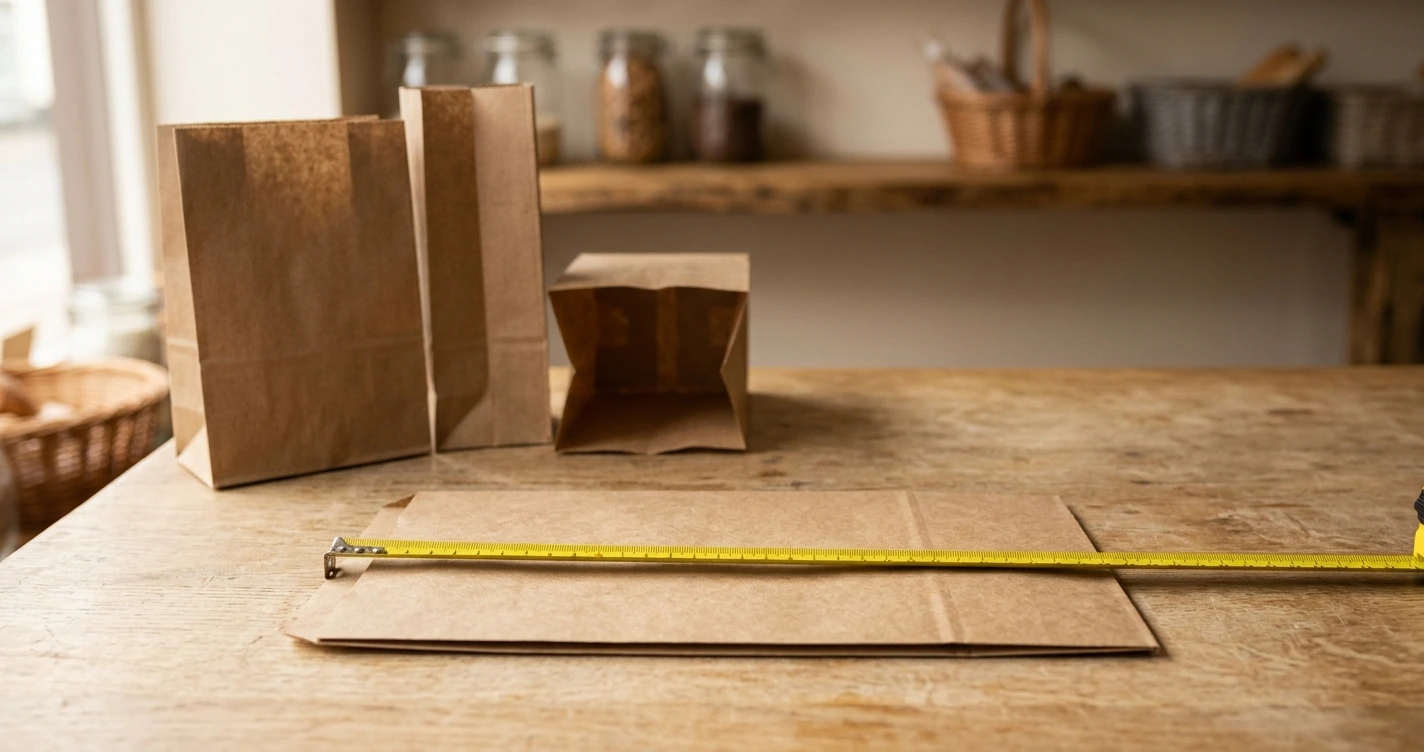
A baker sends the supplier one line: we need bags for rolls. Back comes a size list. Twenty-odd entries, all in millimetres, and not one of them says what it is meant to hold. Both sides are now waiting for a measurement from the other, and the job sits there.
Search for paper bag sizes and nearly everything that comes back is a product listing. Dimensions set out, price alongside, and nobody explaining why a particular size was chosen. Yet the right size does not come from the list. It comes from whatever is going into the bag.
Measure the product first, not the bag
Four questions come before any size, and all four are about the product.
- How many go into one bag: a single roll, three pastries, half a kilo of coffee beans?
- Does it leave the oven warm? A fresh sausage roll gives off steam, a biscuit does not.
- How long does it stay in the bag: as far as the car, or on a shelf with a date on it?
- Does the bag need to stand up? If it is filled at the counter, that question decides the rest.
Answer those four and the list drops from twenty lines to three. From our side: most enquiries name the product but give neither a count nor a weight. Yet one pastry needs a very different bag from three of them.
Two numbers or three: the format comes first
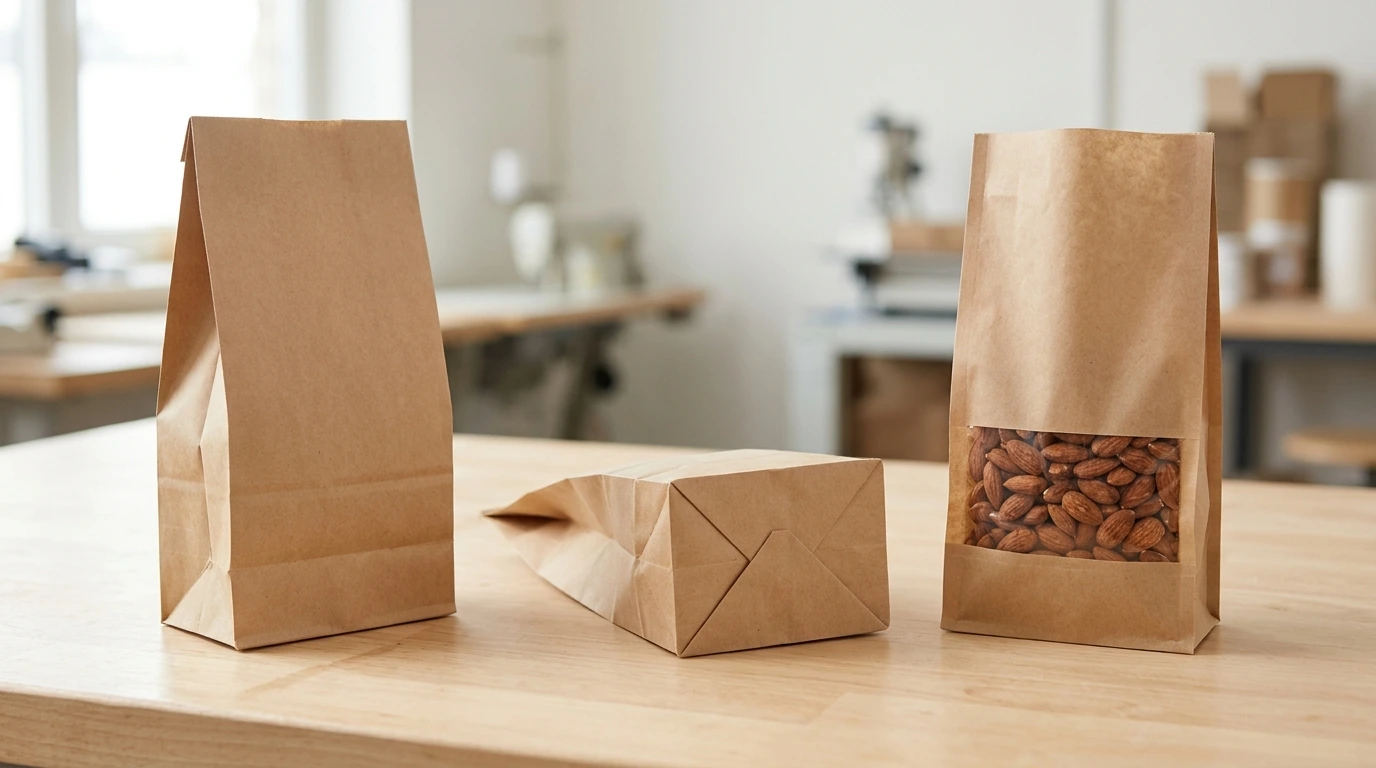
The first split is not size but construction. A flat pouch is flat and takes two numbers, width and height. A block bottom bag, the SOS type, has a base that opens out and needs three: width, base depth, height.
Flat pouches are not one thing either. Some run open on two sides, some are plain with no gusset, others carry a side gusset. They sit next to each other in the same list, which is exactly why they get mixed up. The two-sides-open version is for wrapping, the plain pouch for a single item, the gusseted one for anything with bulk.
Knowing that ends the most common misunderstanding when writing dimensions. Something listed as 120x155 is a flat pouch; there is no base figure. Something listed as 100x57x180 is a block bottom, and the 57 in the middle is how deep the base opens. Putting those two lists side by side and comparing them leads nowhere useful.
Sizes matched to bakery products
The mapping below is built on the standard sizes published on our product pages. Placing your own range against it is quicker than working dimensions out from scratch.
- One roll, one pastry, a single slice: the small flat pouches. Sizes like 120×155 or 120×200 exist for this.
- Two or three items together: around 150×200 and 160×175. Width grows, height stays put.
- Anything with bulk, filled rolls, a sandwich: the gusseted middle sizes, 100×55×155 or 120×60×155. That middle number takes up the thickness.
- A loaf, anything long: the XL end, 200×80×205, 250×80×205 and 300×80×205.
- Coffee, nuts, anything weighed out: block bottom. Here the fill weight sits next to the size: 100×57×180 for 250 g, 125×70×250 for 500 g, 125×70×300 for 1,000 g.
You may have spotted something. The middle and large flat pouches mostly sit at 155 mm tall while width and gusset move around. On a counter that helps, because bags of the same height sit tidily in the same slot. When you build a size set, hold the height and vary the width; it tidies the cupboard as a side effect.
Grammage: what it fixes and what it does not
Two camps argue about grammage and both are half right. One says thicker means stronger, the other says thinner means cheaper. The answer sits between them and depends on the product.
Flat pouches work in the 38-70 g/m² band, block bottom bags between 50 and 140 g/m². Going up stiffens the bag, improves tear resistance and makes it sit more cleanly when full. If the goods are heavy, or the bag is stood up and filled at the counter, moving up the range earns its keep.
One thing needs saying plainly, because it is the most expensive misunderstanding here: grammage does not fix grease resistance. Whether fat comes through the paper is decided by how the paper is built or treated, not by how thick it is. Raise the grammage for a buttery pastry and you get a thicker bag with the same patch on it, just slightly later. There is a separate product for that job, which is why the greaseproof option stands on its own within our flat pouch papers.
Does the bag have to stand up?
That question comes before size and settles the format. Is it filled at the counter, one-handed? Then a bag that stands by itself visibly speeds up service, and block bottom comes into view. Is the product packed in advance and shelved, or folded over and handed across as soon as it is filled? Then a flat pouch does the job and takes less room.
The second advantage of a block bottom shows up on a shelf. With a base it stands in a row, takes a label, and gives the brand a flat surface to sit on. That is precisely why fill weights appear beside the sizes on SOS block bottom bags: those bags were built for weighed goods.
Windows and machine filling do not move the size
Two further questions affect the build without shifting the size ladder. Knowing that saves work.
One is the window. If the product should stay visible, a clear panel goes on the front, and its size and position follow the product. The point worth holding on to: the window version runs in the same standard sizes. A patisserie using 150×200 today does not have to measure anything again when moving to a window bag; it stays on the same line.
The other is how the bag gets filled. By hand, and the matter is closed. On a filling machine, the bag has to be made in a specification suited to it, which touches the paper and the cut rather than the dimensions. Say so in the first line of your enquiry, because learning it later means setting the production side up again even though the size never changed.
How to measure a bag you already use
The most practical route is measuring the bag in use today. There is a trap here though, and it is the single biggest cause of wrongly ordered stock.
A gusseted bag looks wider than it is when laid flat, because the folded gusset opens outwards. Run a tape edge to edge while it lies flat and you have measured half the gusset as width. The right way round:
- Open the bag at the mouth rather than measuring it flat.
- Take the width across the front, from one edge of the opening to the other.
- Take the base depth with the gusset fully open, the short edge of the standing base.
- Take the height from base to top edge, not to the fold-over.
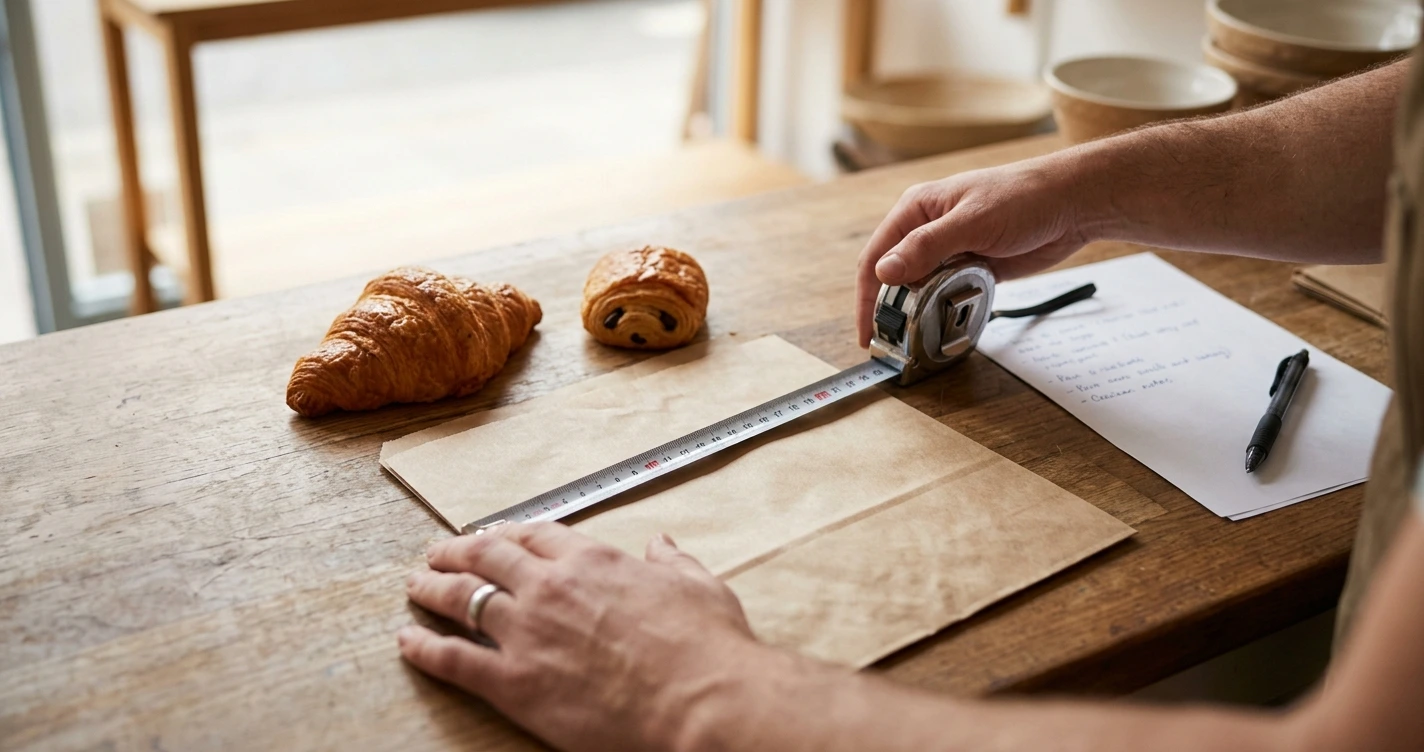
- If in doubt, cut the bag open, flatten it and photograph it next to a tape.
- Measure a few of the same bag; cutting tolerance can make a single example misleading.
That second-to-last step earns the most. One bag cut open and photographed against a tape closes three rounds of email at once. Which order to write those numbers in, and how to phrase them, is set out in our piece on what to send before asking for a quote.
Staying on standard sizes, or leaving them
Custom sizes are possible, to say it plainly. But every different profile is its own production set-up, and that feeds back into your quantity planning. If your need sits a few millimetres off a standard size, rounding to it is nearly always the smarter call.
There is a direction to this as well. Caught between two sizes, the larger one is usually the safer bet, since a bag that is too small will not take the goods while a slightly large one merely sits a bit empty. Do not let it become a habit, though. A bakery permanently running a size up pays for paper it does not use and looks untidy across the counter. Better to try two or three sizes with the real product.
The good part is this. Measured properly once, it never comes back. Measured badly once, it returns with every reorder, every new site and every change to the range.
Frequently Asked Questions
- What order are paper bag dimensions written in?
- A flat pouch takes two numbers, width and height. A block bottom takes three, and the middle one is the base depth, so the order runs width, base, height. Spell that order out once in your enquiry and there is no room left for confusion.
- How do I measure a bag I already use?
- Do not measure it flat, because the folded gusset makes it look wider than it is. Open the mouth, take the width across the front, the base depth with the gusset fully open, and the height to the top edge. The safest version is a bag cut open, flattened and photographed against a tape.
- Will a higher grammage stop grease marks?
- No, and this is the most expensive misunderstanding in the subject. Grammage stiffens the bag and improves tear resistance, but it does not hold fat back. For greasy products the answer lies in a greaseproof paper rather than a thicker one.
- Can one artwork be used across several sizes?
- Artwork can be scaled, but every size remains a separate production set-up with its own minimum. One design solves brand consistency; the number of sizes still shapes your ordering plan. Keeping the two apart makes planning realistic.
- Why are bread bags long and narrow?
- For loaves and long items it is height that matters rather than width; the product goes in lengthways and the top is folded over. In the standard ladder, sizes between 200×80×205 and 300×80×205 cover that need.
- Is a custom size worth it?
- If your product genuinely does not fit the standard ladder, yes. Since every different profile is its own set-up, rounding to the nearest standard usually makes more sense once your requirement is only a few millimetres away.
Related Articles
How to Hold a Packaging Standard Across Multiple Sites
Packaging drifts on its own once you pass three sites. What drifts is not stock but the number of versions, and the bill for that lands on the printing plate rather than the price list.
Paper, Grammage and Barriers: Which Material for Which Food
The same box holds a burger perfectly and fails under a curry. The difference is not the board, it is the layer on it. What grammage actually changes, which barrier suits which dish, and how to test material with your own food before you commit.
What Your Packaging Supplier Needs Before They Can Quote
Three suppliers, three prices, three different bags. Most packaging quotes are unusable because the enquiry described a logo instead of a product. Here is the brief that gets you comparable numbers.
Printed bakery bags: sponsored, co-branded or your own logo?
There are three routes to a printed bakery bag, and only one of them belongs to the bakery. What the free sponsored bag really costs, when your own logo pays off, what to write down before co-branding, what 38 to 70 g/m² paper does to a design, and who licenses the bag when you trade in Germany.
Printed block bottom bags: which base for which product?
Search for printed bottom bags and you are offered three different bags. Which of them stands empty and speeds up the counter, why a coffee roaster is at the wrong address with paper, how fill weights from 100 g to 2,000 g choose the size, what belongs on the side gusset and when the bag needs a second layer.